You don’t need to know anything about cooking to make roast chicken. It can be one of the world’s easiest dishes. The ultimate “weeknight dinner,” to use a phrase cherished by cookbook writers. Making it can be as simple as buying a chicken, putting it in a roasting dish with some salt and pepper, and popping it in a 375-degree Fahrenheit oven for 45 minutes.
So you’d think it might be unnecessary to ask someone like Daniel Boulud how to make roast chicken. The French-born chef-owner of a global restaurant empire that includes three-Michelin-starred Daniel on New York’s Upper East Side, he knows just about everything about the culinary arts.
One of the things he knows is that flavor doesn’t come easy. He thinks it’s impossible to make food — including that old standby of roast chicken — taste amazing without hard work. And, preferably, a lot of practice.
“The difference between home cooks and professional chefs is that at home, you cook a dish once, and you redo it maybe two or three more times, and that’s it,” he said. “We do it 10, 20, 30 times every single night. It’s a totally different thing.”
Boulud was willing to share a few tips that he’s picked up in his many years in the professional kitchen that can help home cooks cook a roast chicken that will amaze everyone. Here are four things Boulud thinks you should do to make the best roast chicken you’ve ever had. Feel free to use one, two, three or all four of them the next time you’re roasting a chicken. They don’t rely on each other for success.
1. Brine It
Most people, if they ever talk about brining, only do so around Thanksgiving. (Don’t believe me? Check out this Google Trends chart!) But Boulud thinks that’s a mistake. He believes brining is just as crucial for chickens as it is for turkeys.
“If you brine a chicken, its flesh will be much more moist, the skin will be much more crisp and it will taste better,” he said.
Boulud says that the essential ingredients in a good brine are salt, sugar and honey, but he’s not super fussy about the proportions. I put about 3/4 of a cup of salt, plus half a cup each of sugar and honey, into a gallon of water, brought it to a boil, then let it cool down to room temperature:

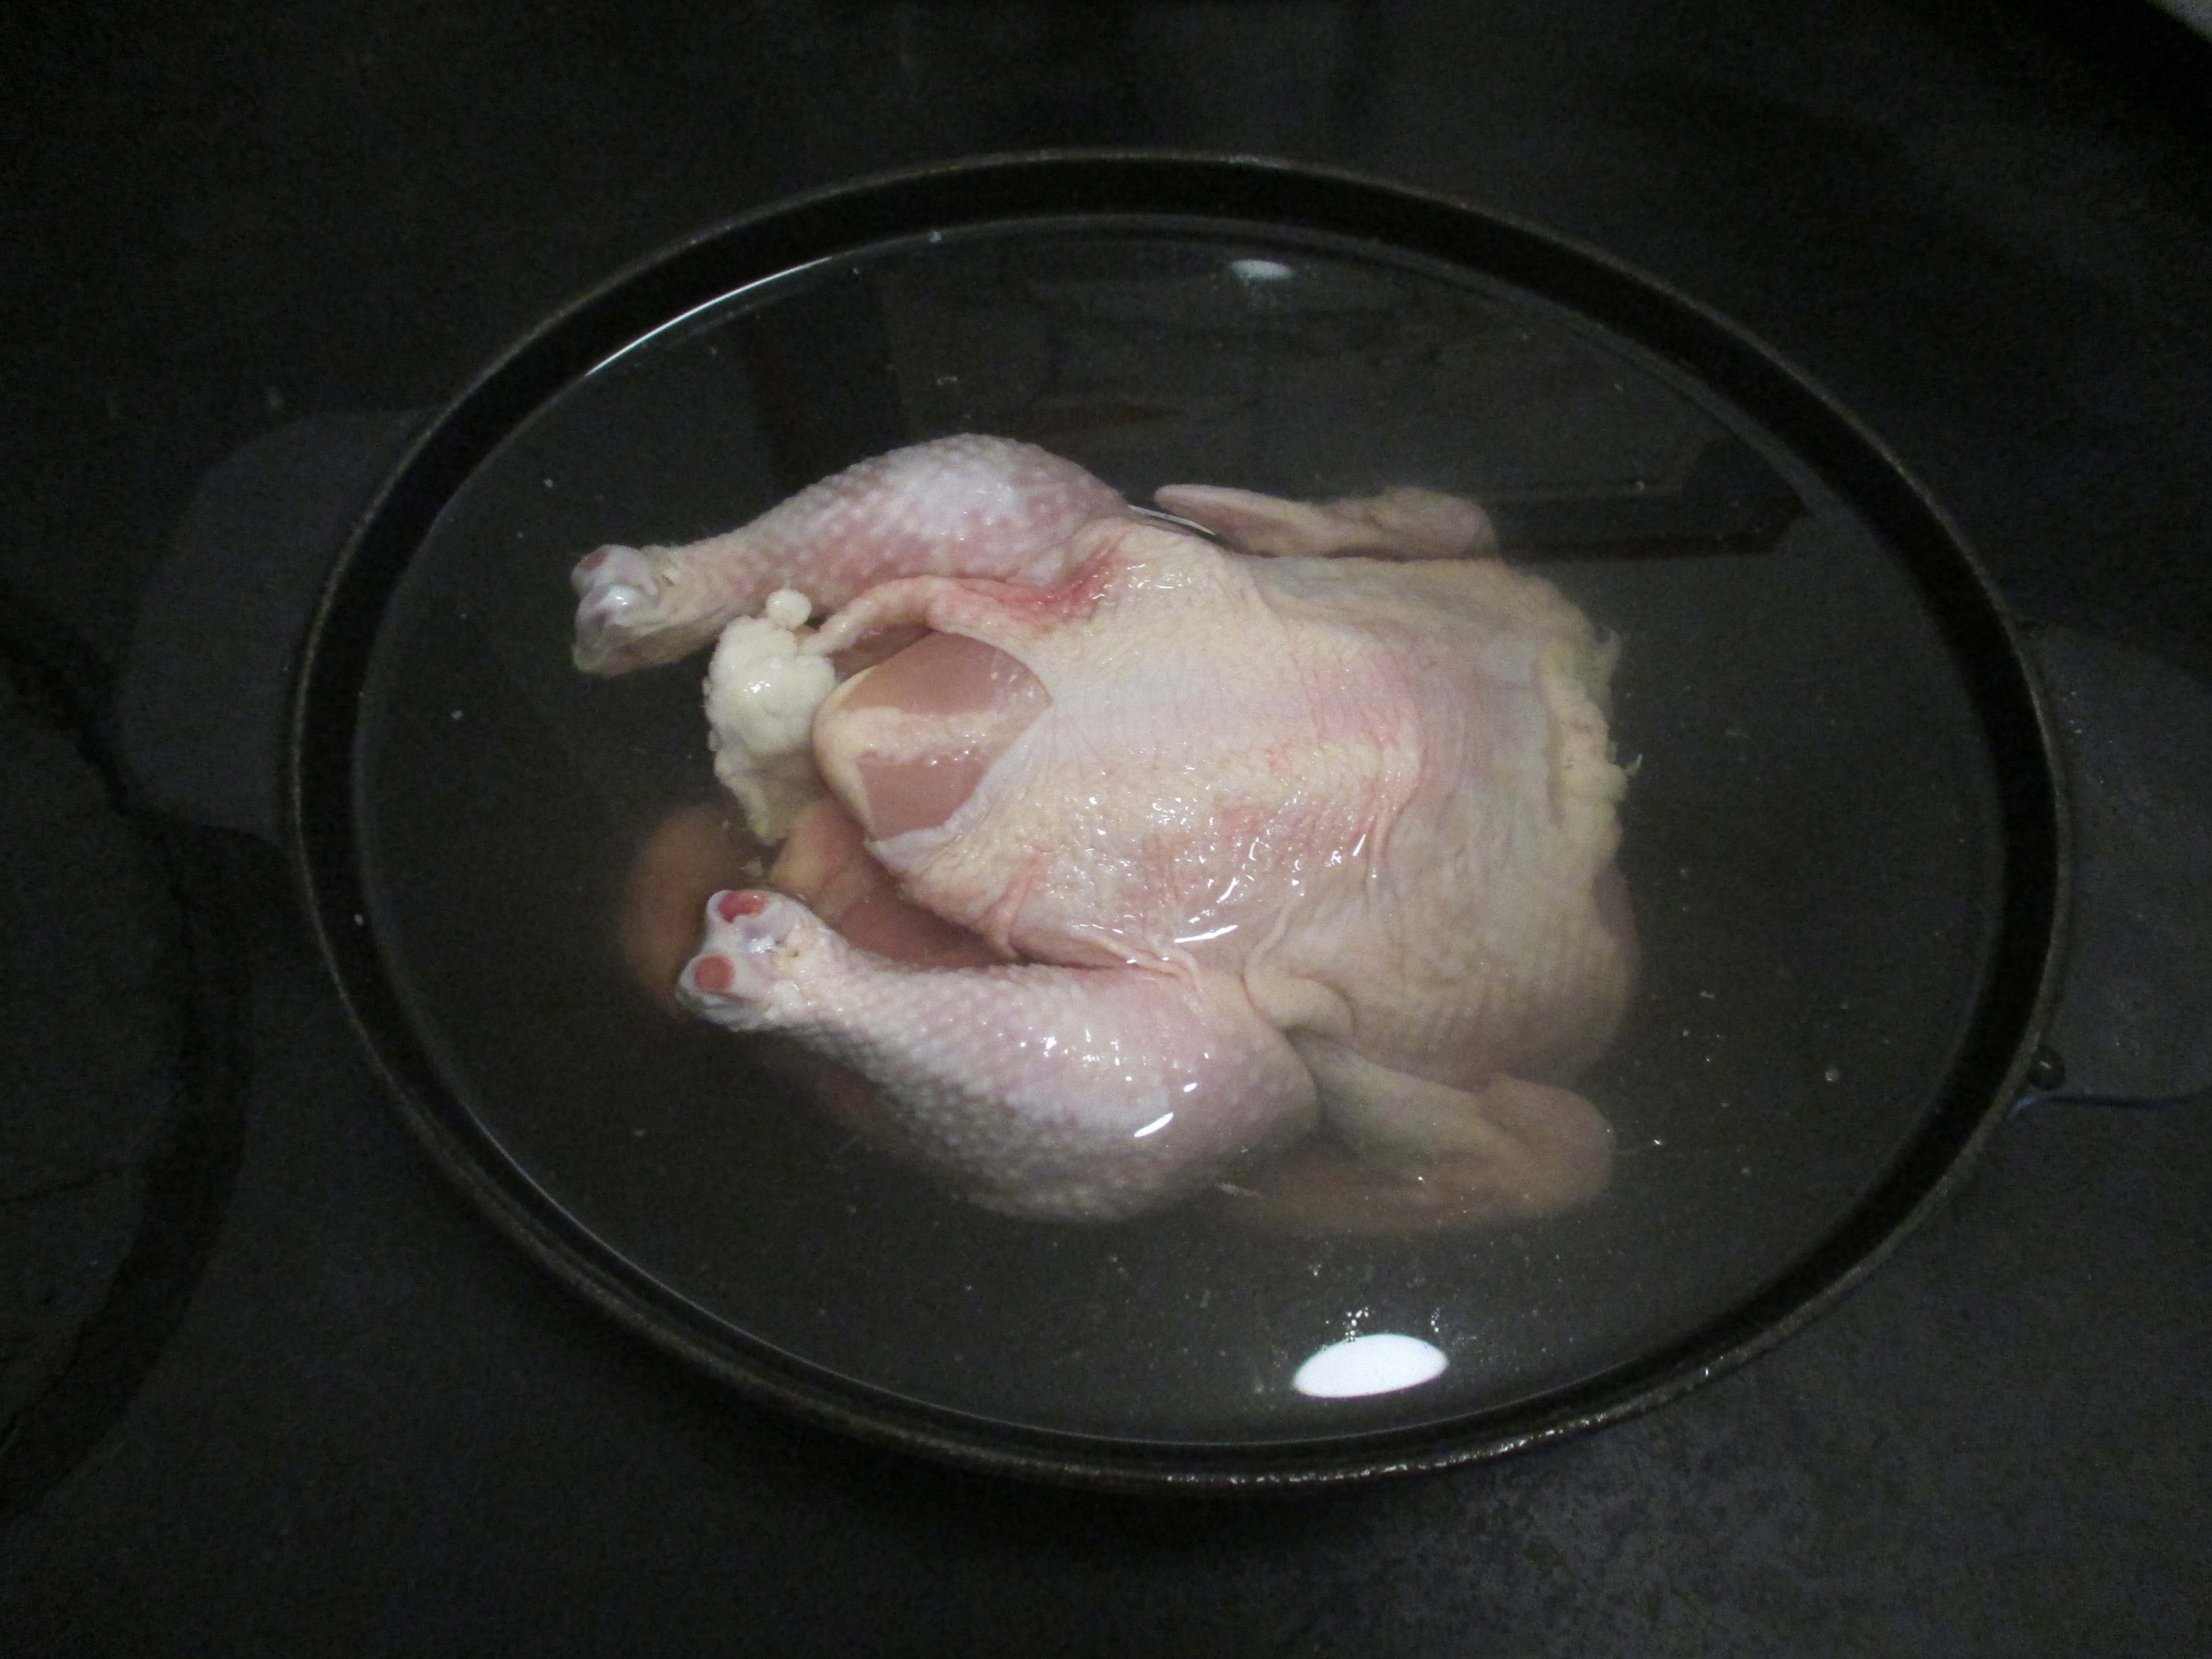
Then I put a regular supermarket chicken (not kosher) in a pot with the brine:
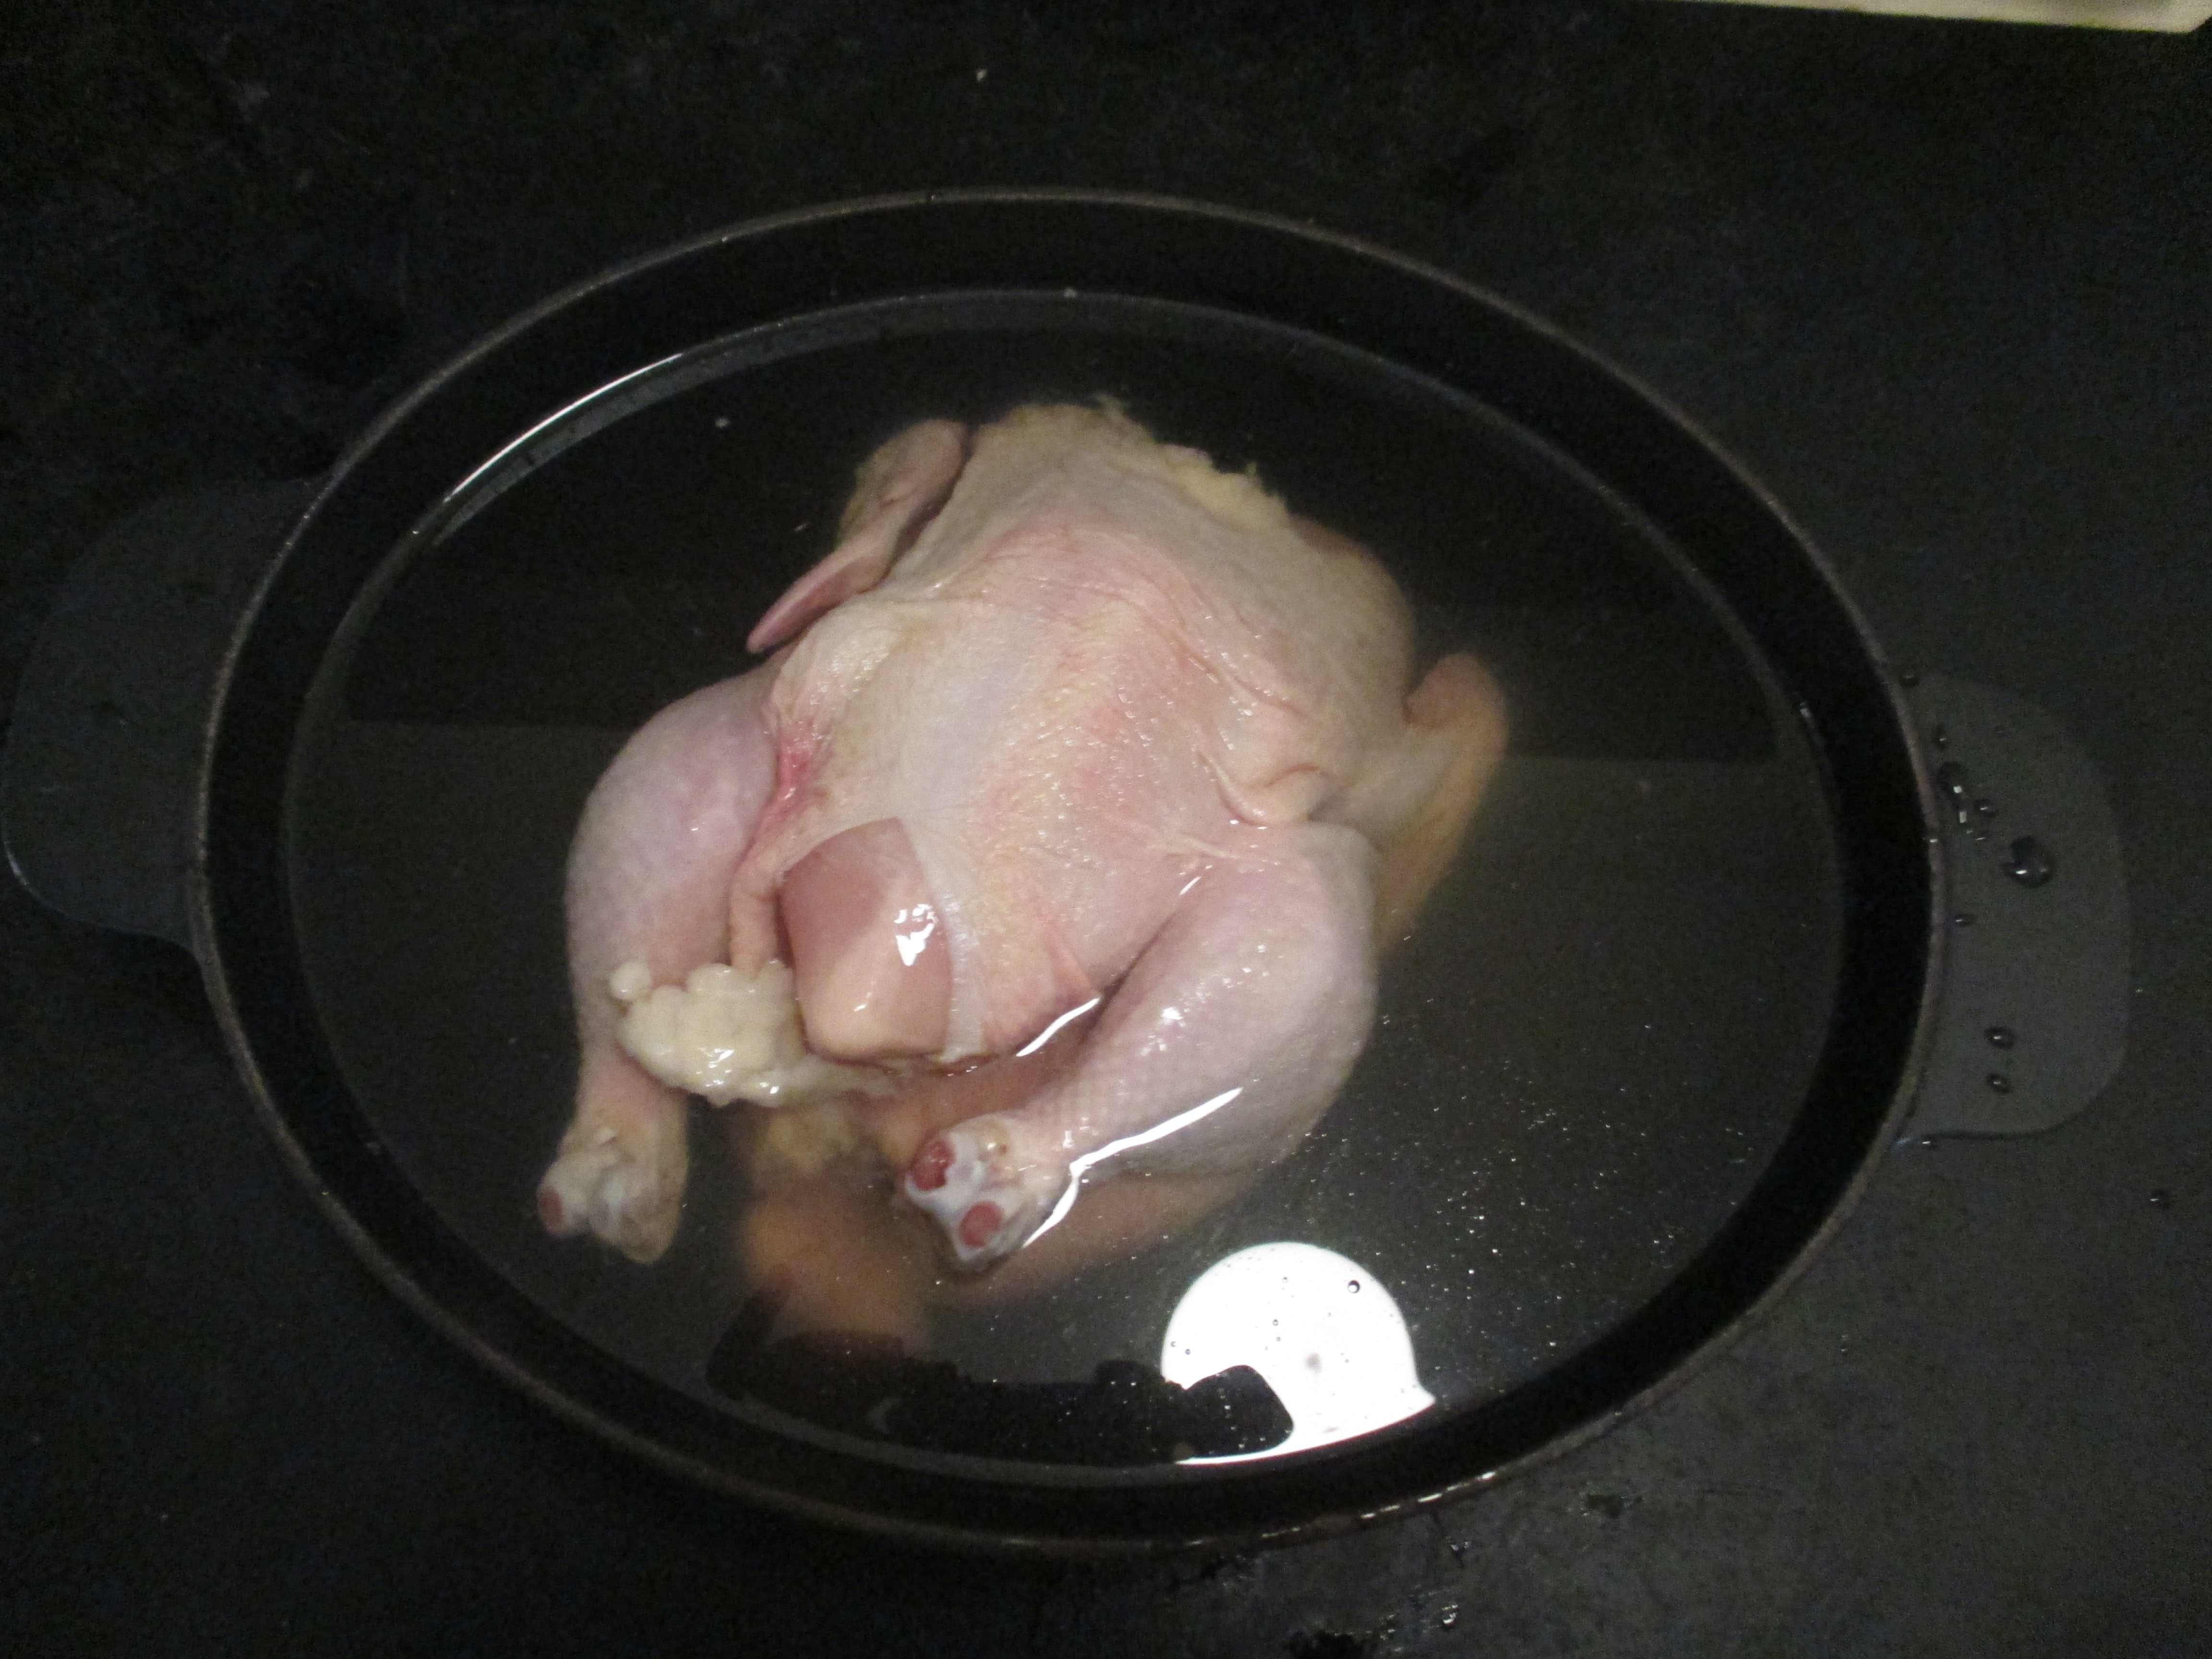
I covered it and put it in the refrigerator for about 18 hours; at the end, its flesh looked a little paler, and it was noticeably more tender to the touch:
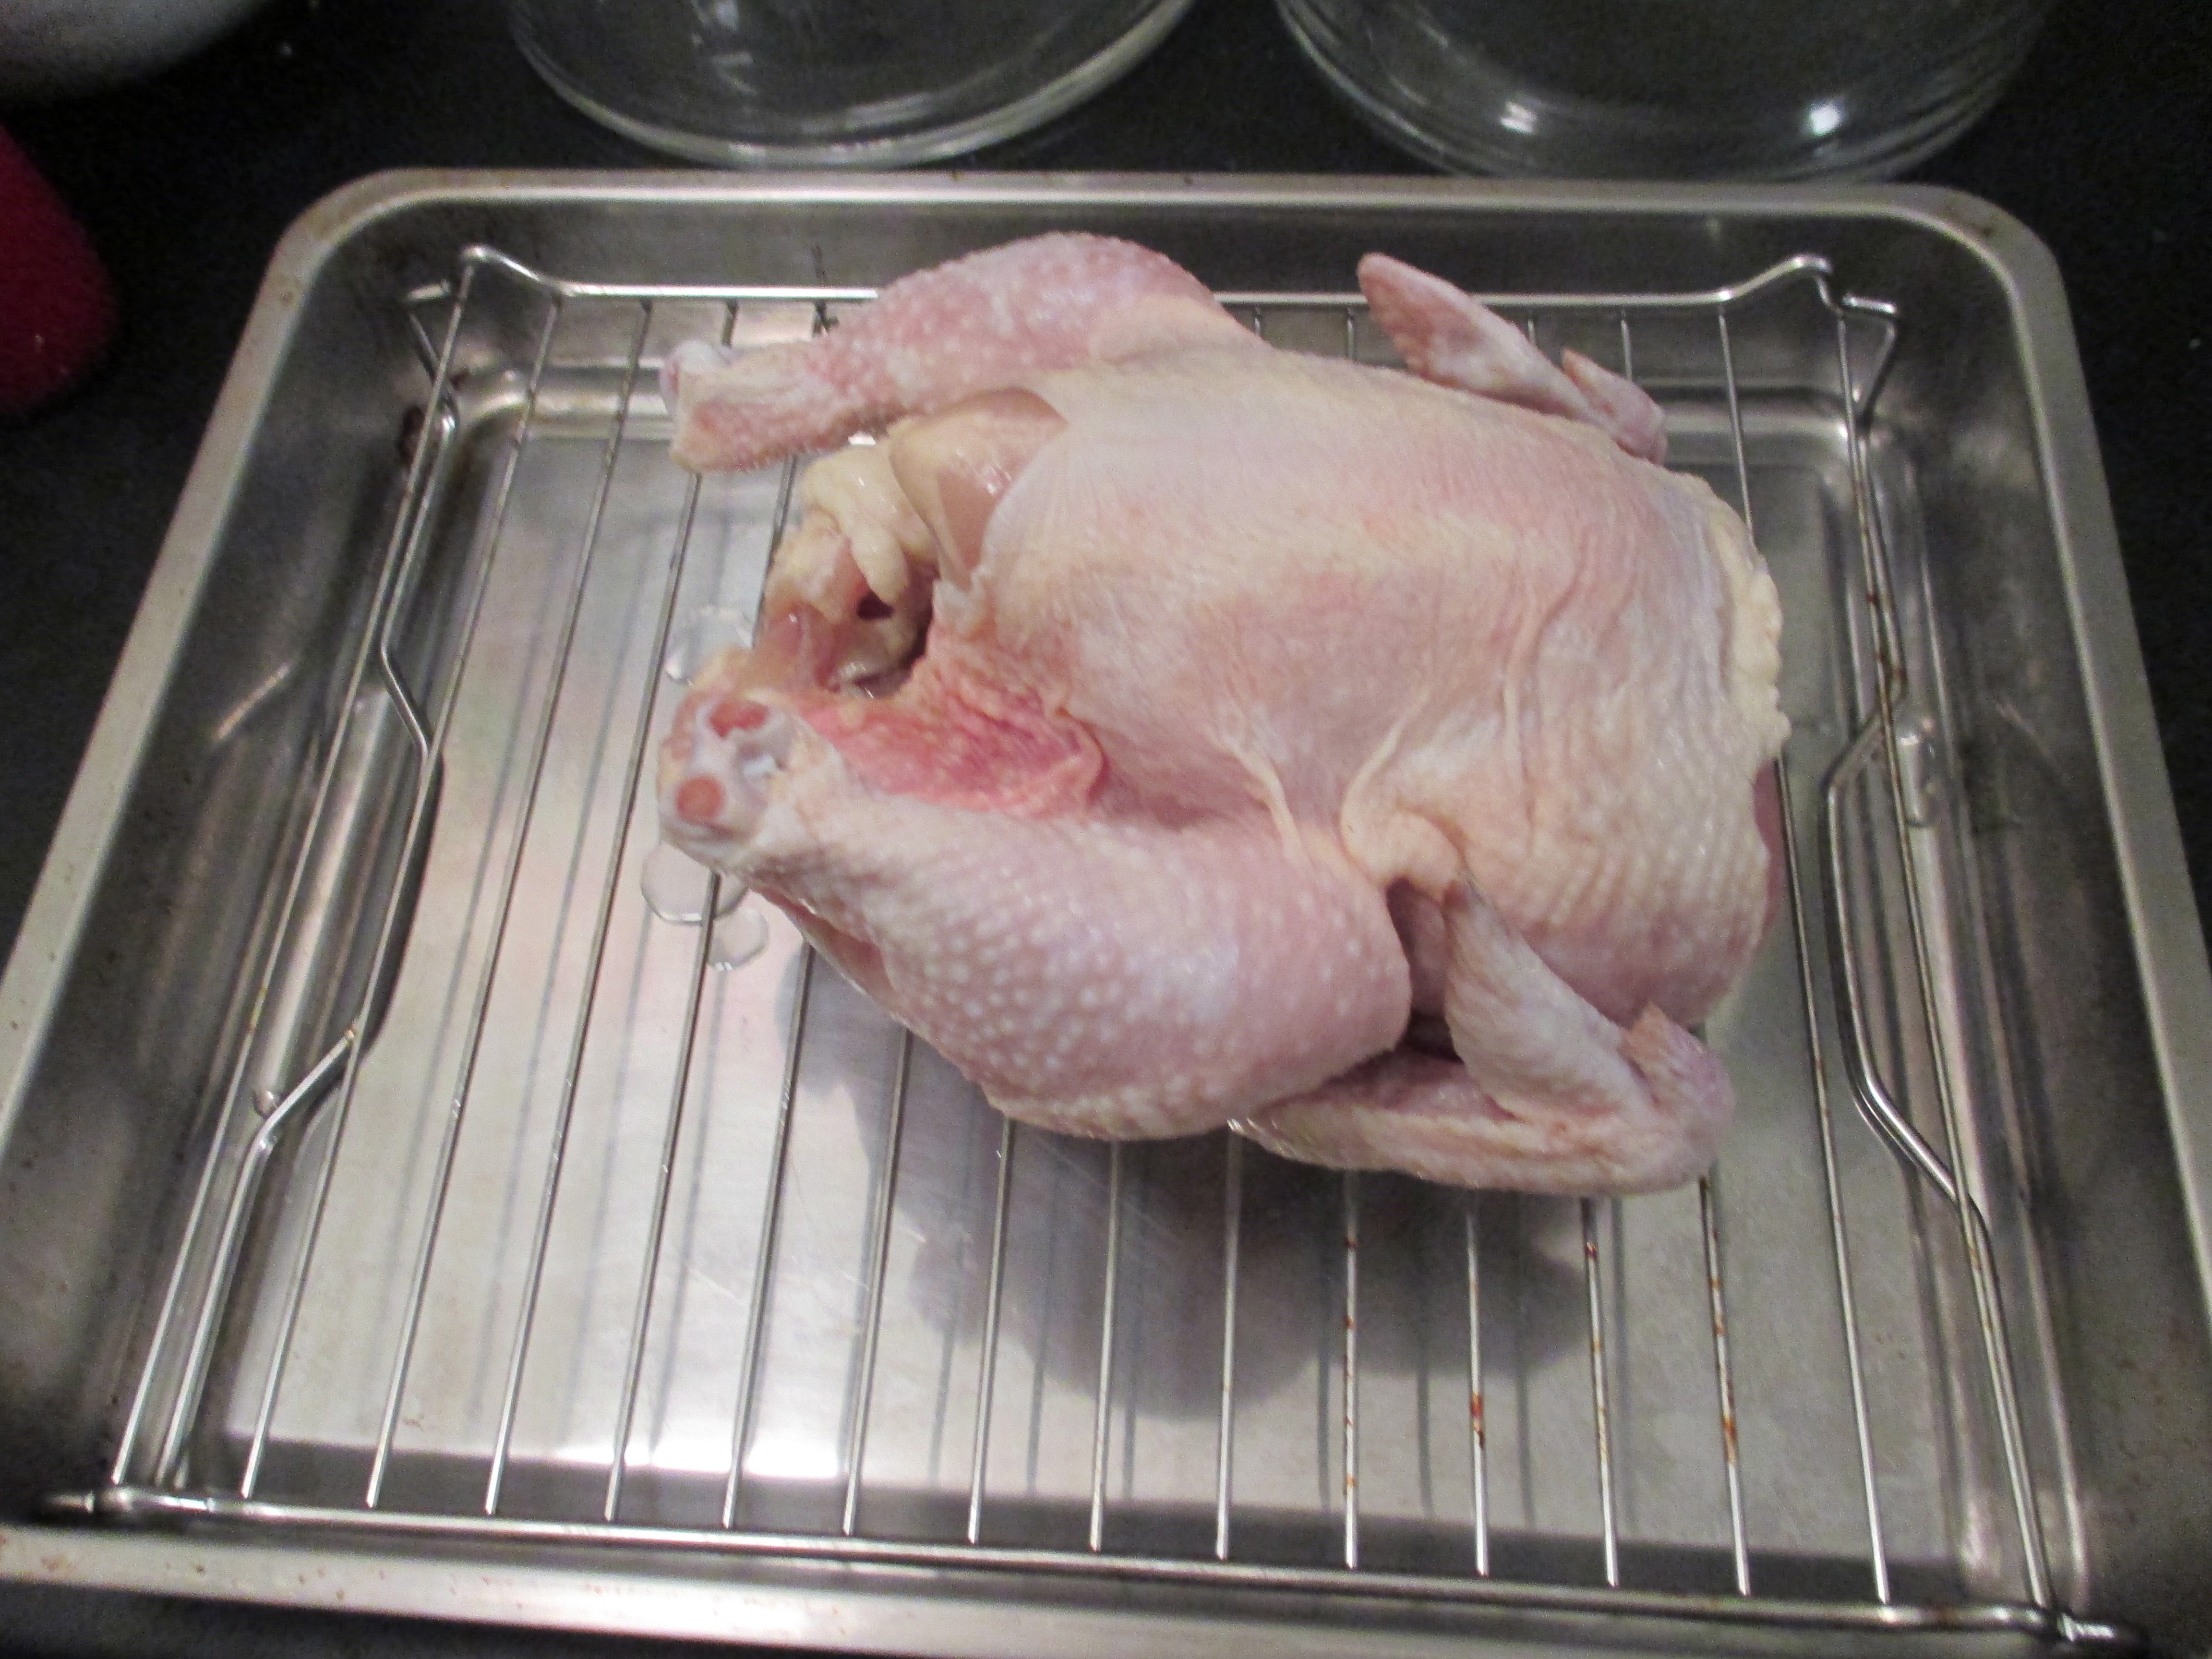
At this point, I took the chicken out of the brine and put it on a roasting rack, like this, so that I could…
2. Truss It
Trussing — basically, tying a chicken into a position that will help its dark and light meat finish cooking at around the same time — sounds daunting. And looking at a traditional French cookbook for advice only makes it more daunting. But there’s a very simple “quick truss” that Boulud approves of that makes a world of difference. It’s harder than tying your shoes, but easier than tying a bow tie. Here’s a step-by-step guide in GIFs:
Tuck the wing tips under the shoulders:
Place a long piece of twine on the center of the breast, then flip the chicken over:
Tie the two ends of the twine together at the center of the back:

Flip the bird back over, then loop one end of the twine around the narrowest part of one drumstick twice:
Now do the same with the other drumstick with the other end of the twine, and pull the two drumsticks together using the twine:
Finally, tie the two ends of the twine into a little bow:

Here’s what the chicken should look like at the end.

3. Dry It
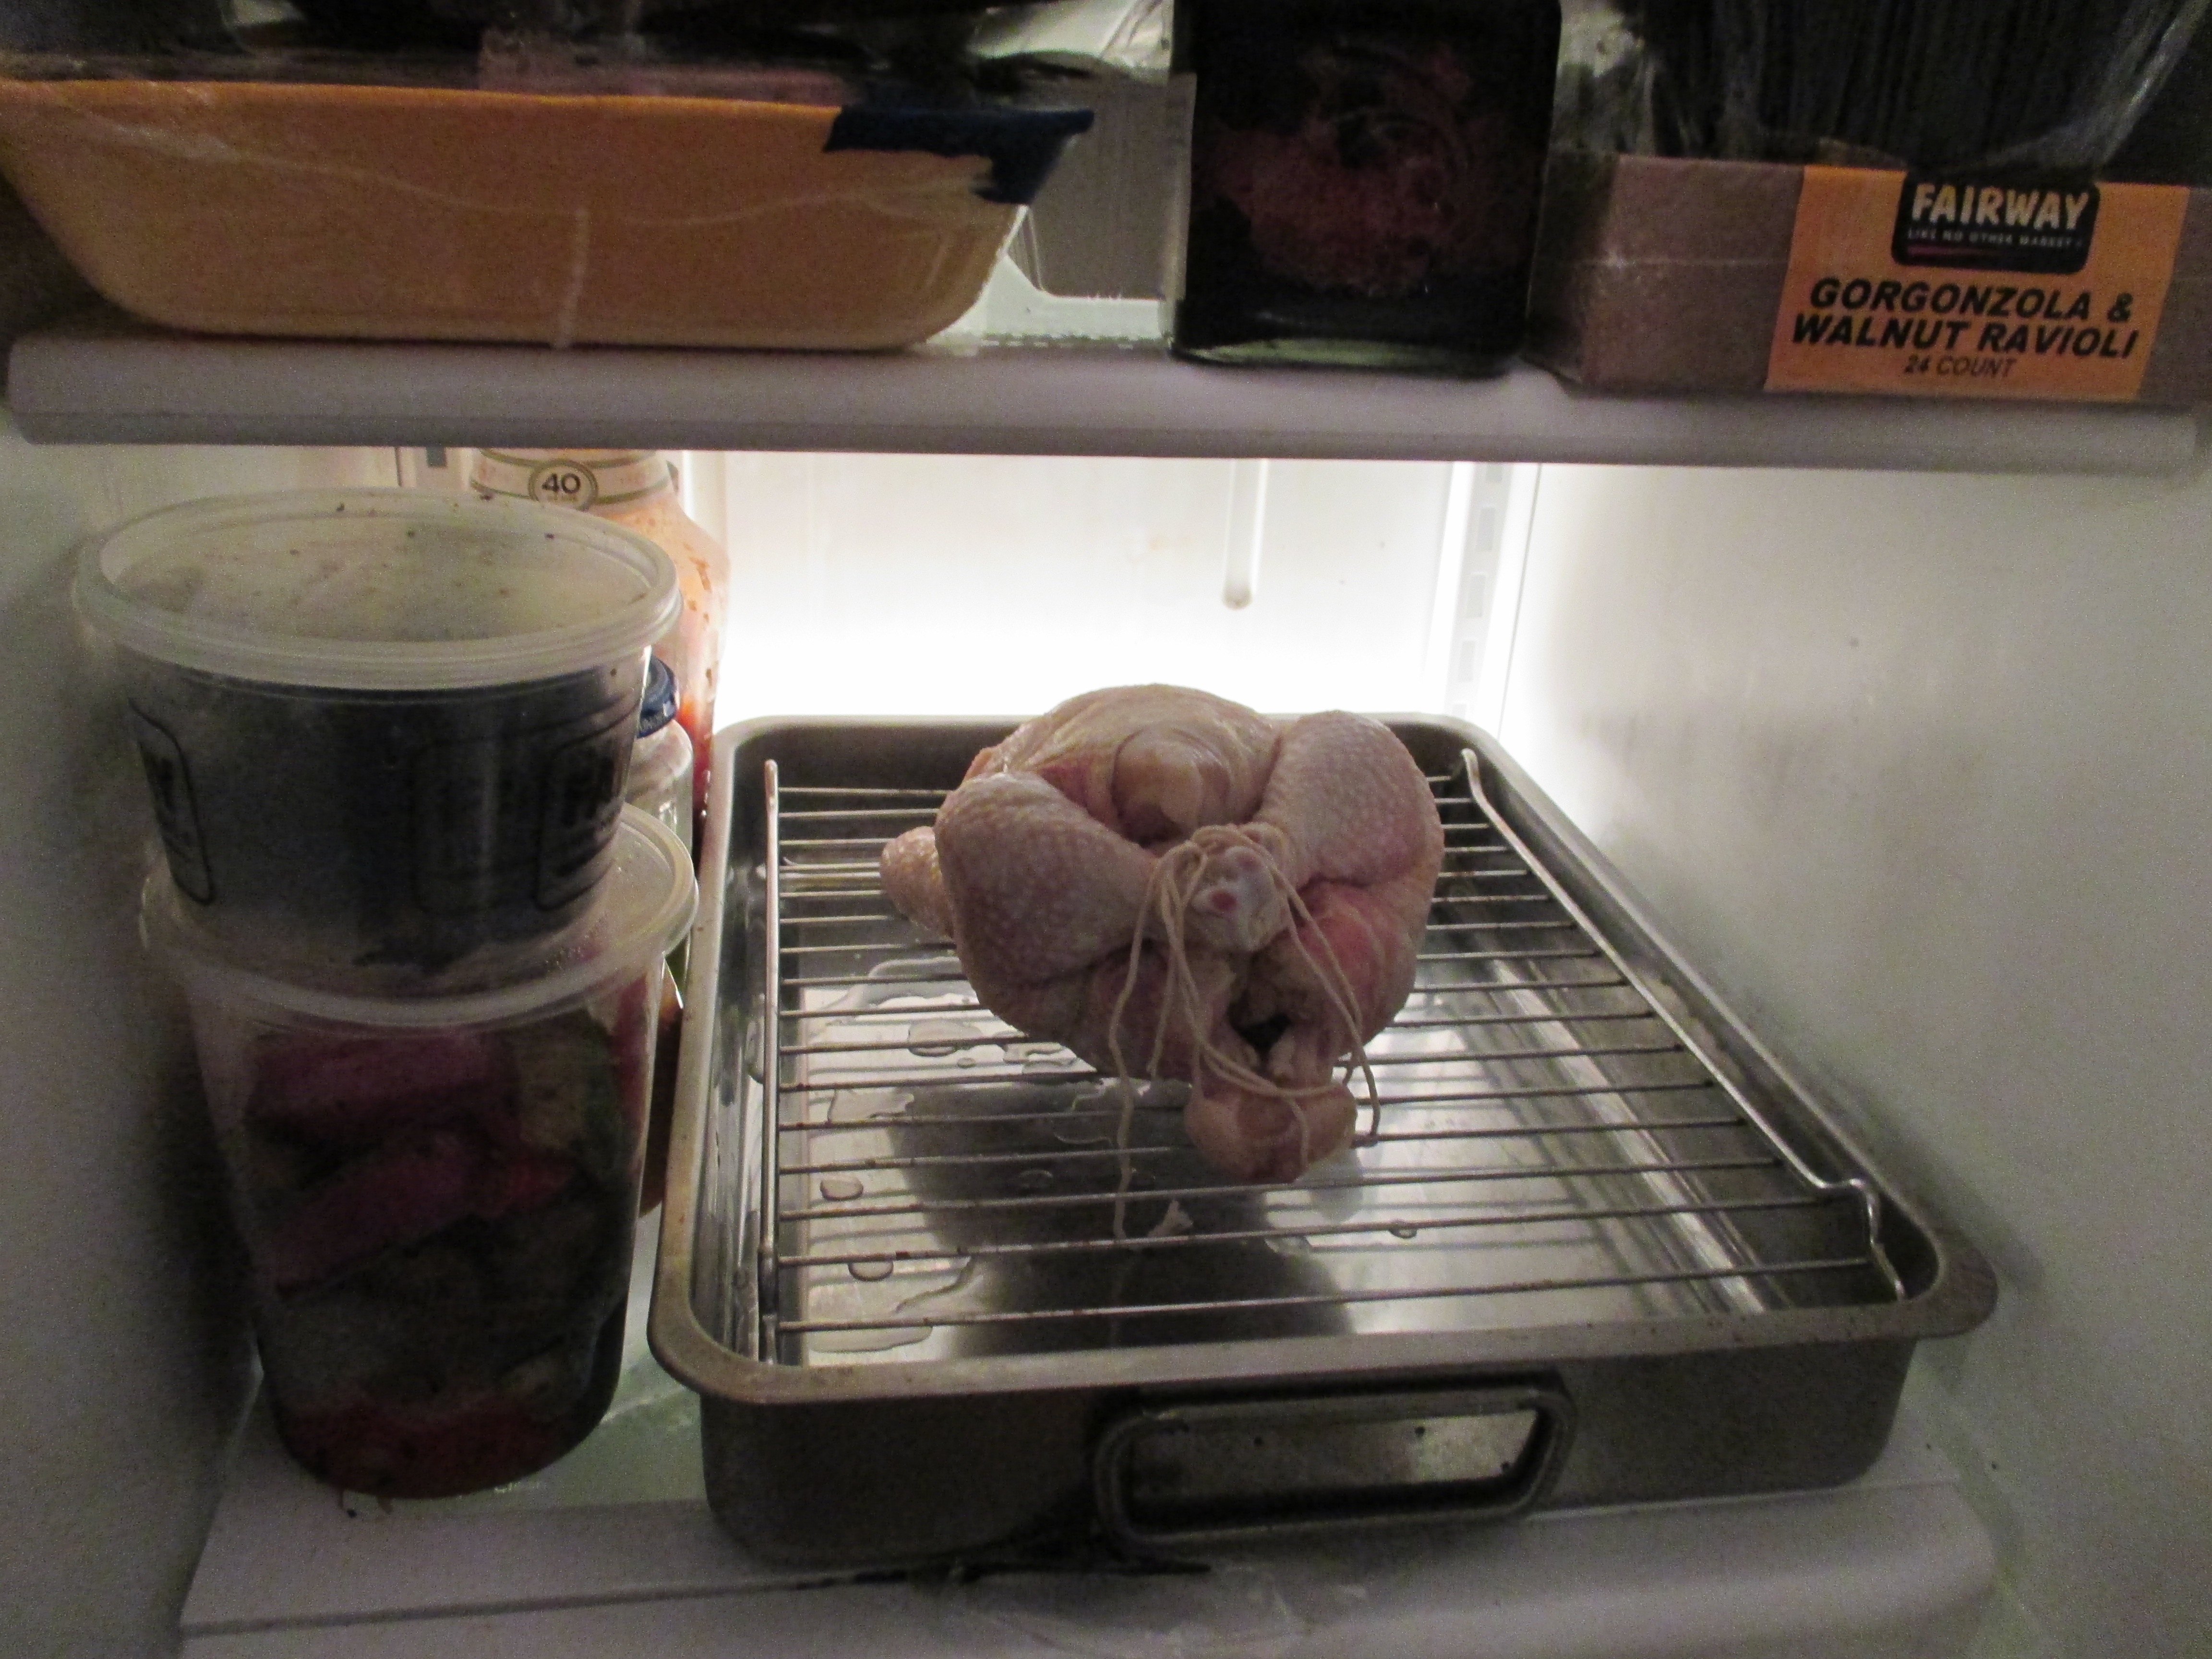
Drying, like brining, is a technique I long associated with a different kind of poultry: wild game. Birds like pheasants and grouse are traditionally hung to air dry for several days before being cooked. But Boulud said (and I confirmed) that it really helps improve the purity of a chicken’s flavor and, especially, the crispness of its skin. It’s very simple. After you take the chicken out of the brine and truss it, put it in your refrigerator for about 12 hours, uncovered and unseasoned. It might look vaguely absurd sitting there next to your supermarket soup, but power through:
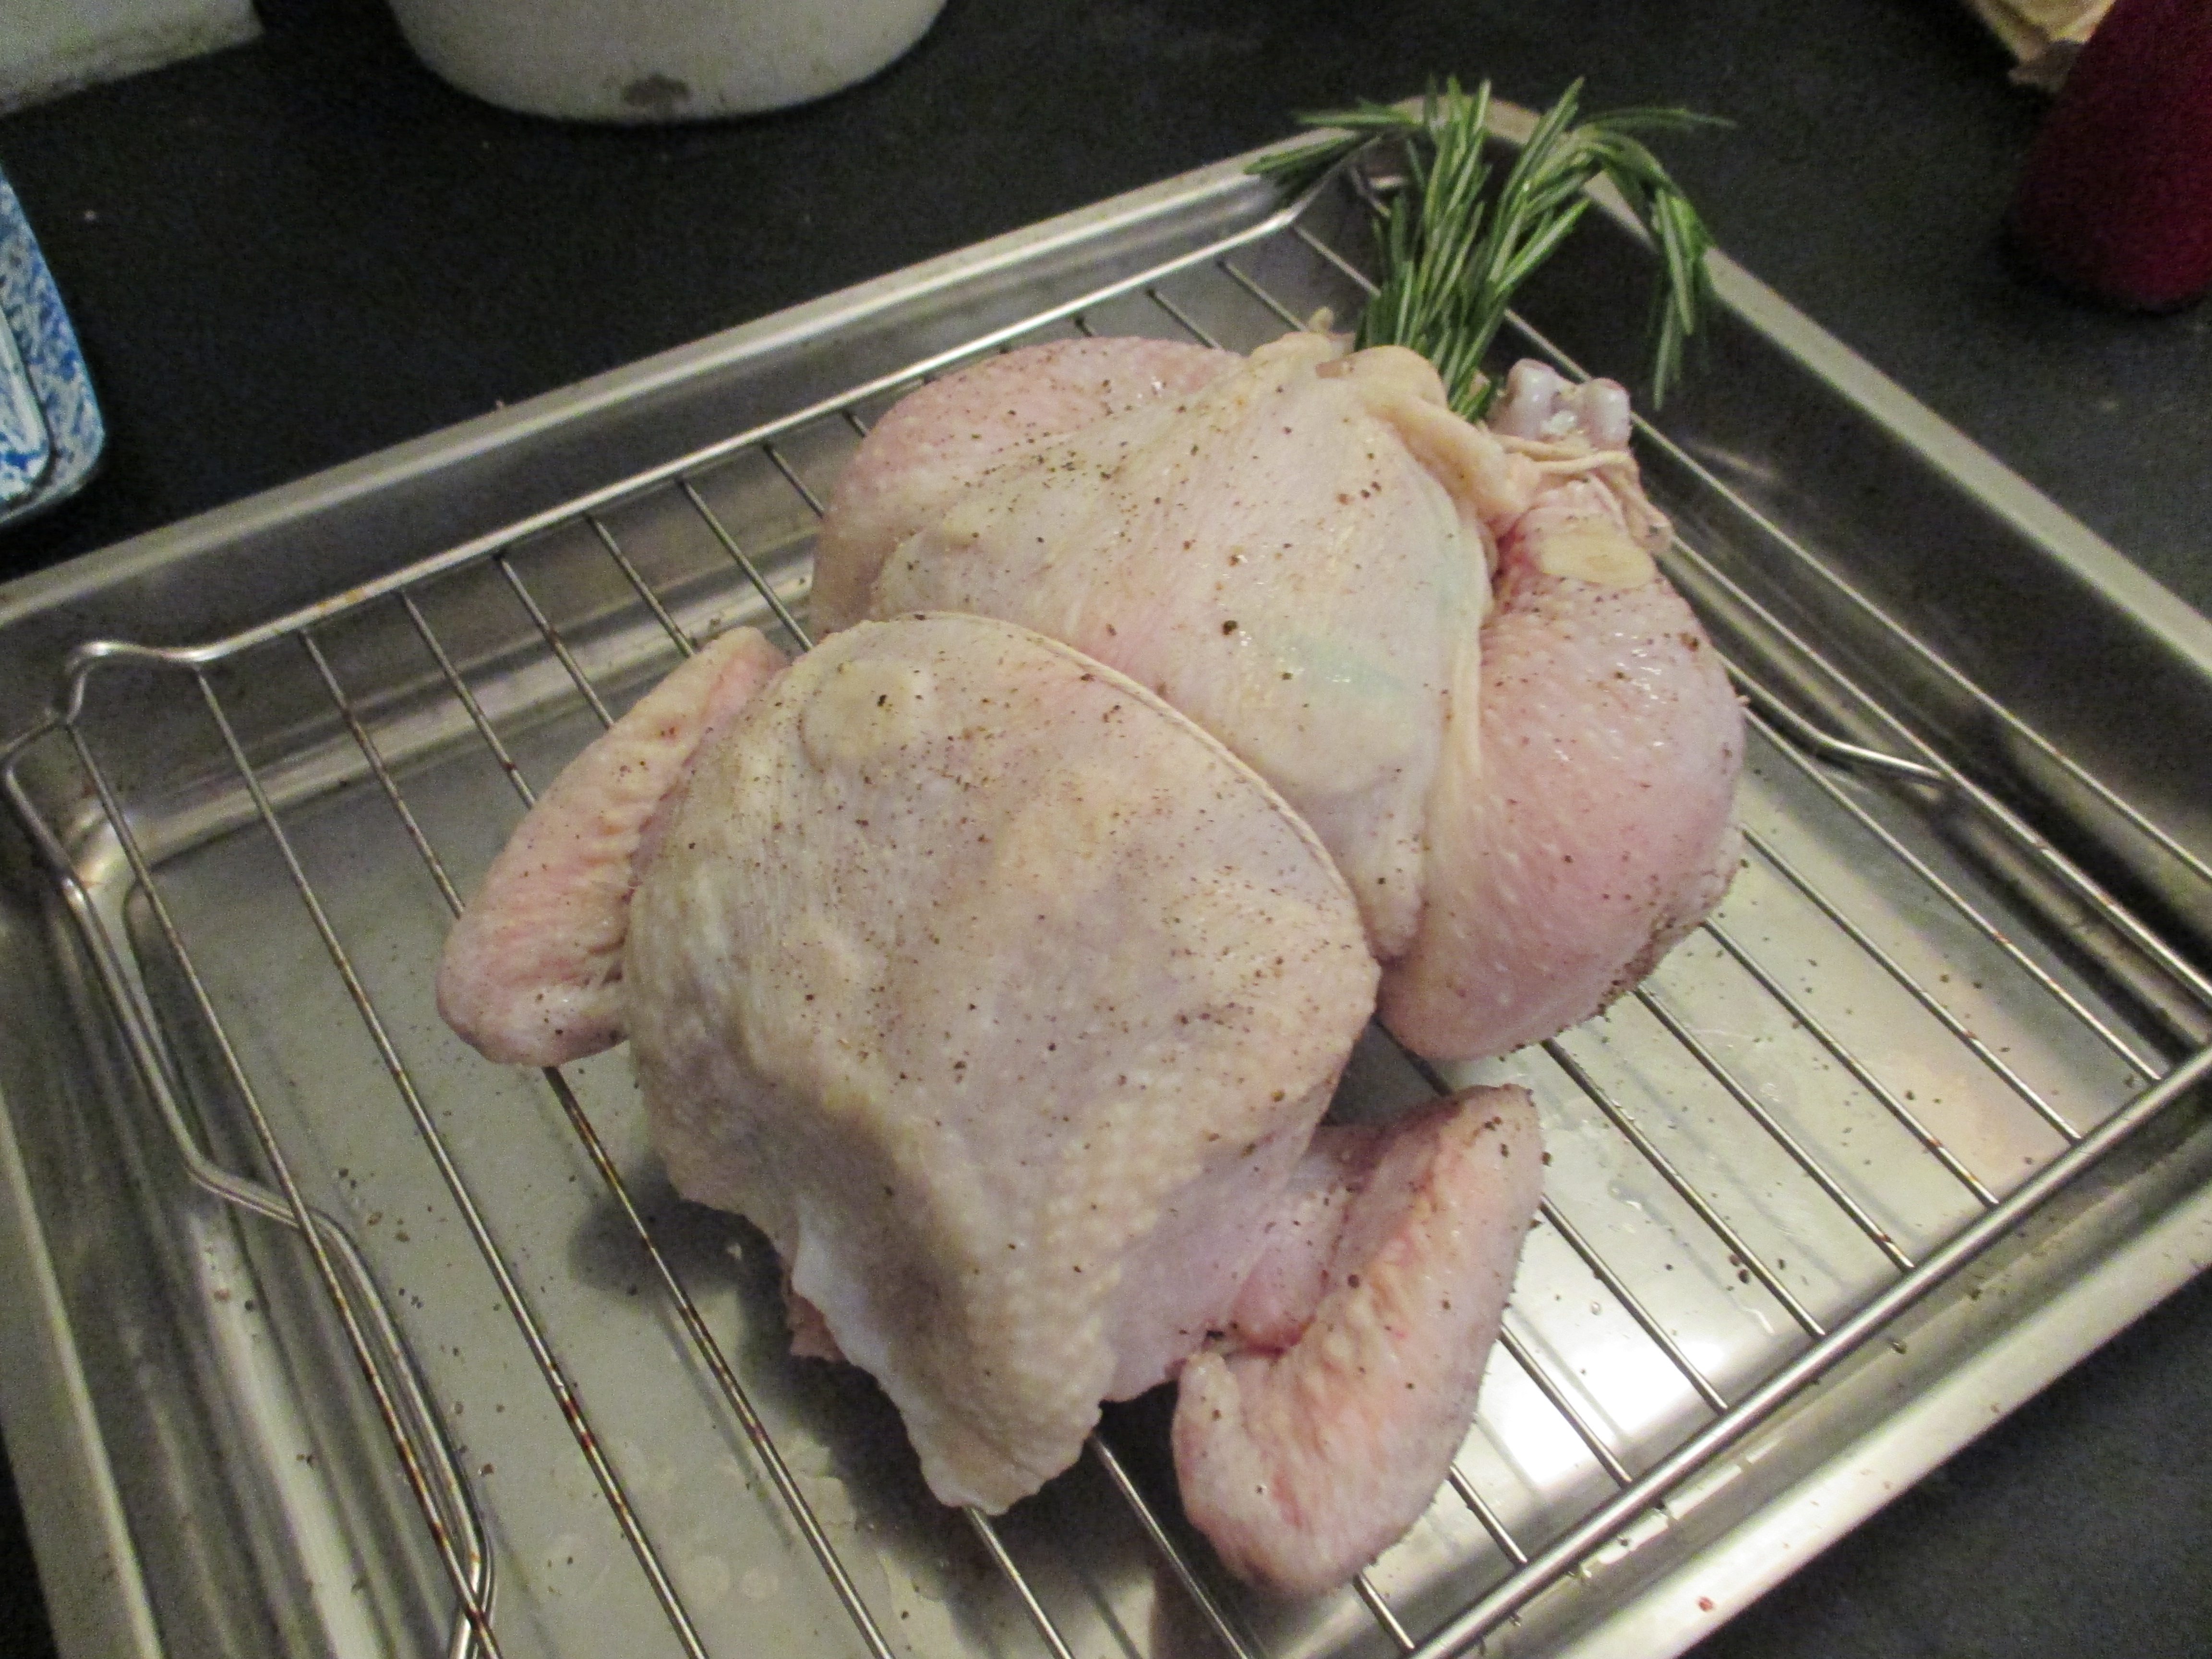
After the drying, you can add whatever seasonings you like. If you brined your chicken, you should not add more salt; it already has plenty. I went with pepper, rosemary and, under the skin, a bit of garlic:
4. Rest It
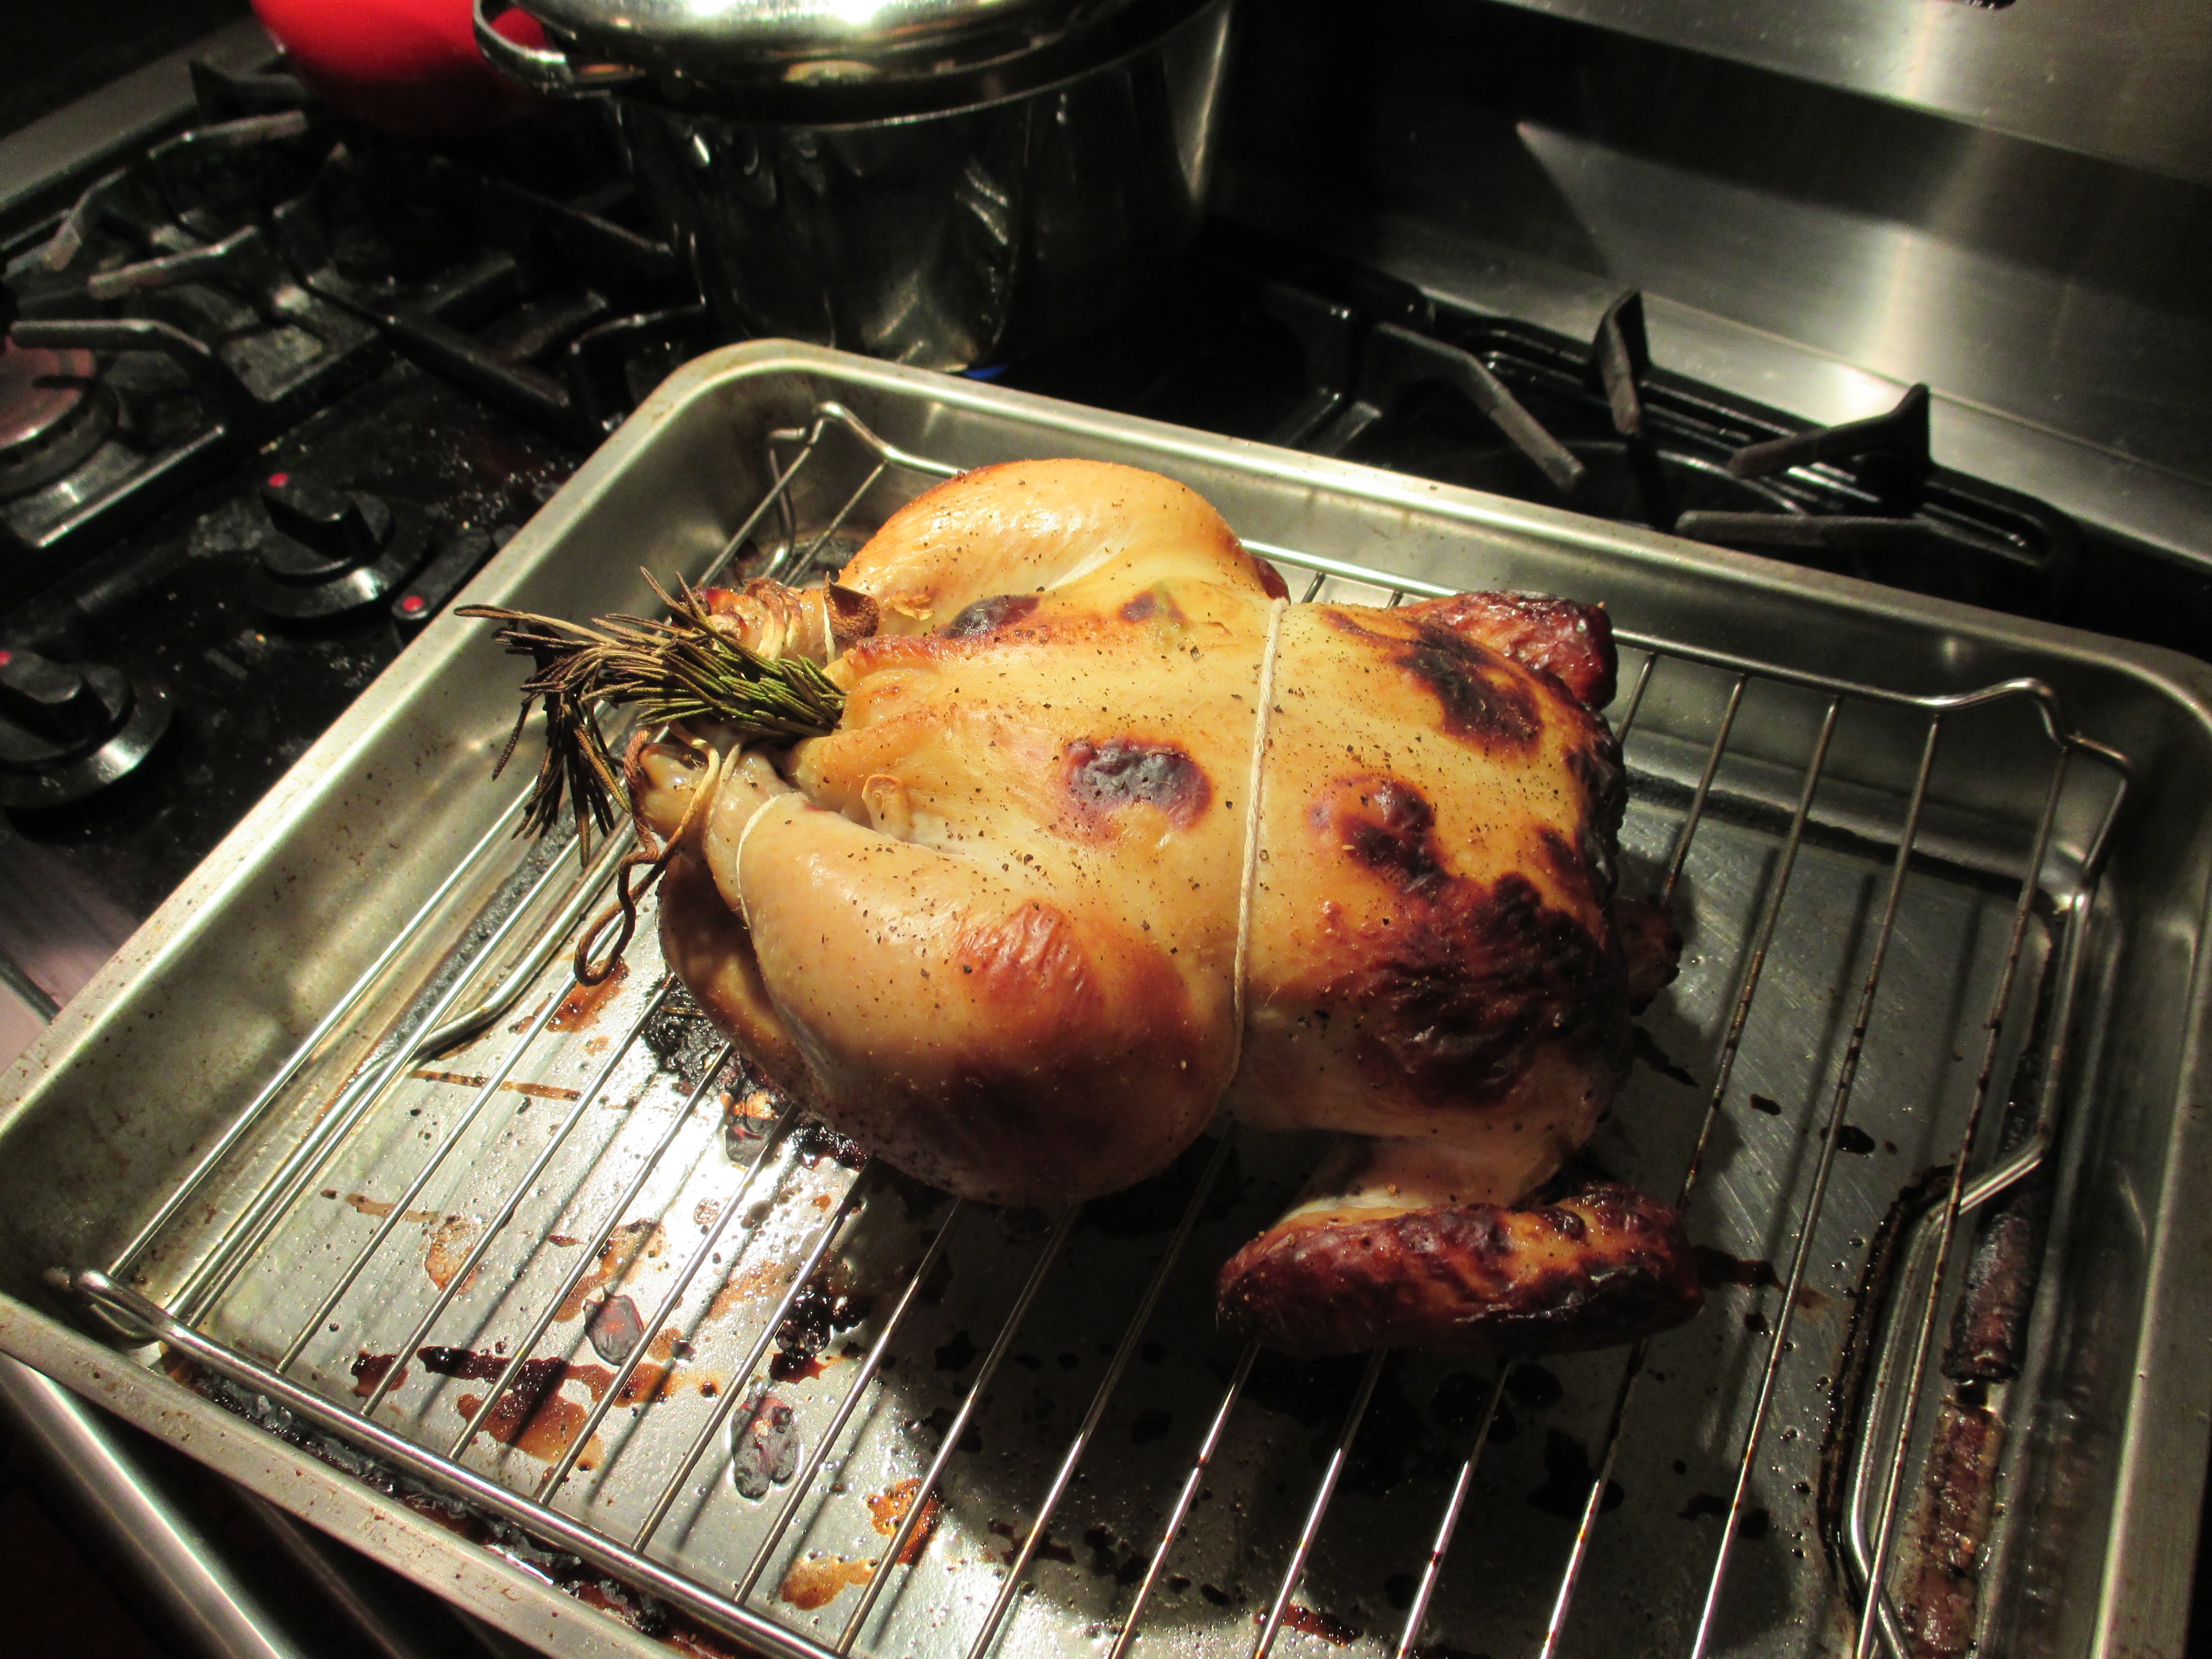
Now it’s time to actually roast the chicken. Boulud has a specific method that he likes to use: 425 degrees for 15 minutes to brown the skin, then 350 degrees until the flesh of the chicken is basically cooked through, about 20 minutes. That works well, but he was quick to warn that you really need to adjust cooking times and temperatures to your own oven. If you’ve done everything right so far, your chicken should look something like this:
The bigger game changer, though, was Boulud’s attitude toward resting. Resting a big piece of roast meat was always one of those things, like pre-heating pans, that I vaguely knew I was supposed to do, but I basically neglected. I often let a chicken or a large cut of lamb or beef sit on the countertop for a couple minutes, but that’s it.
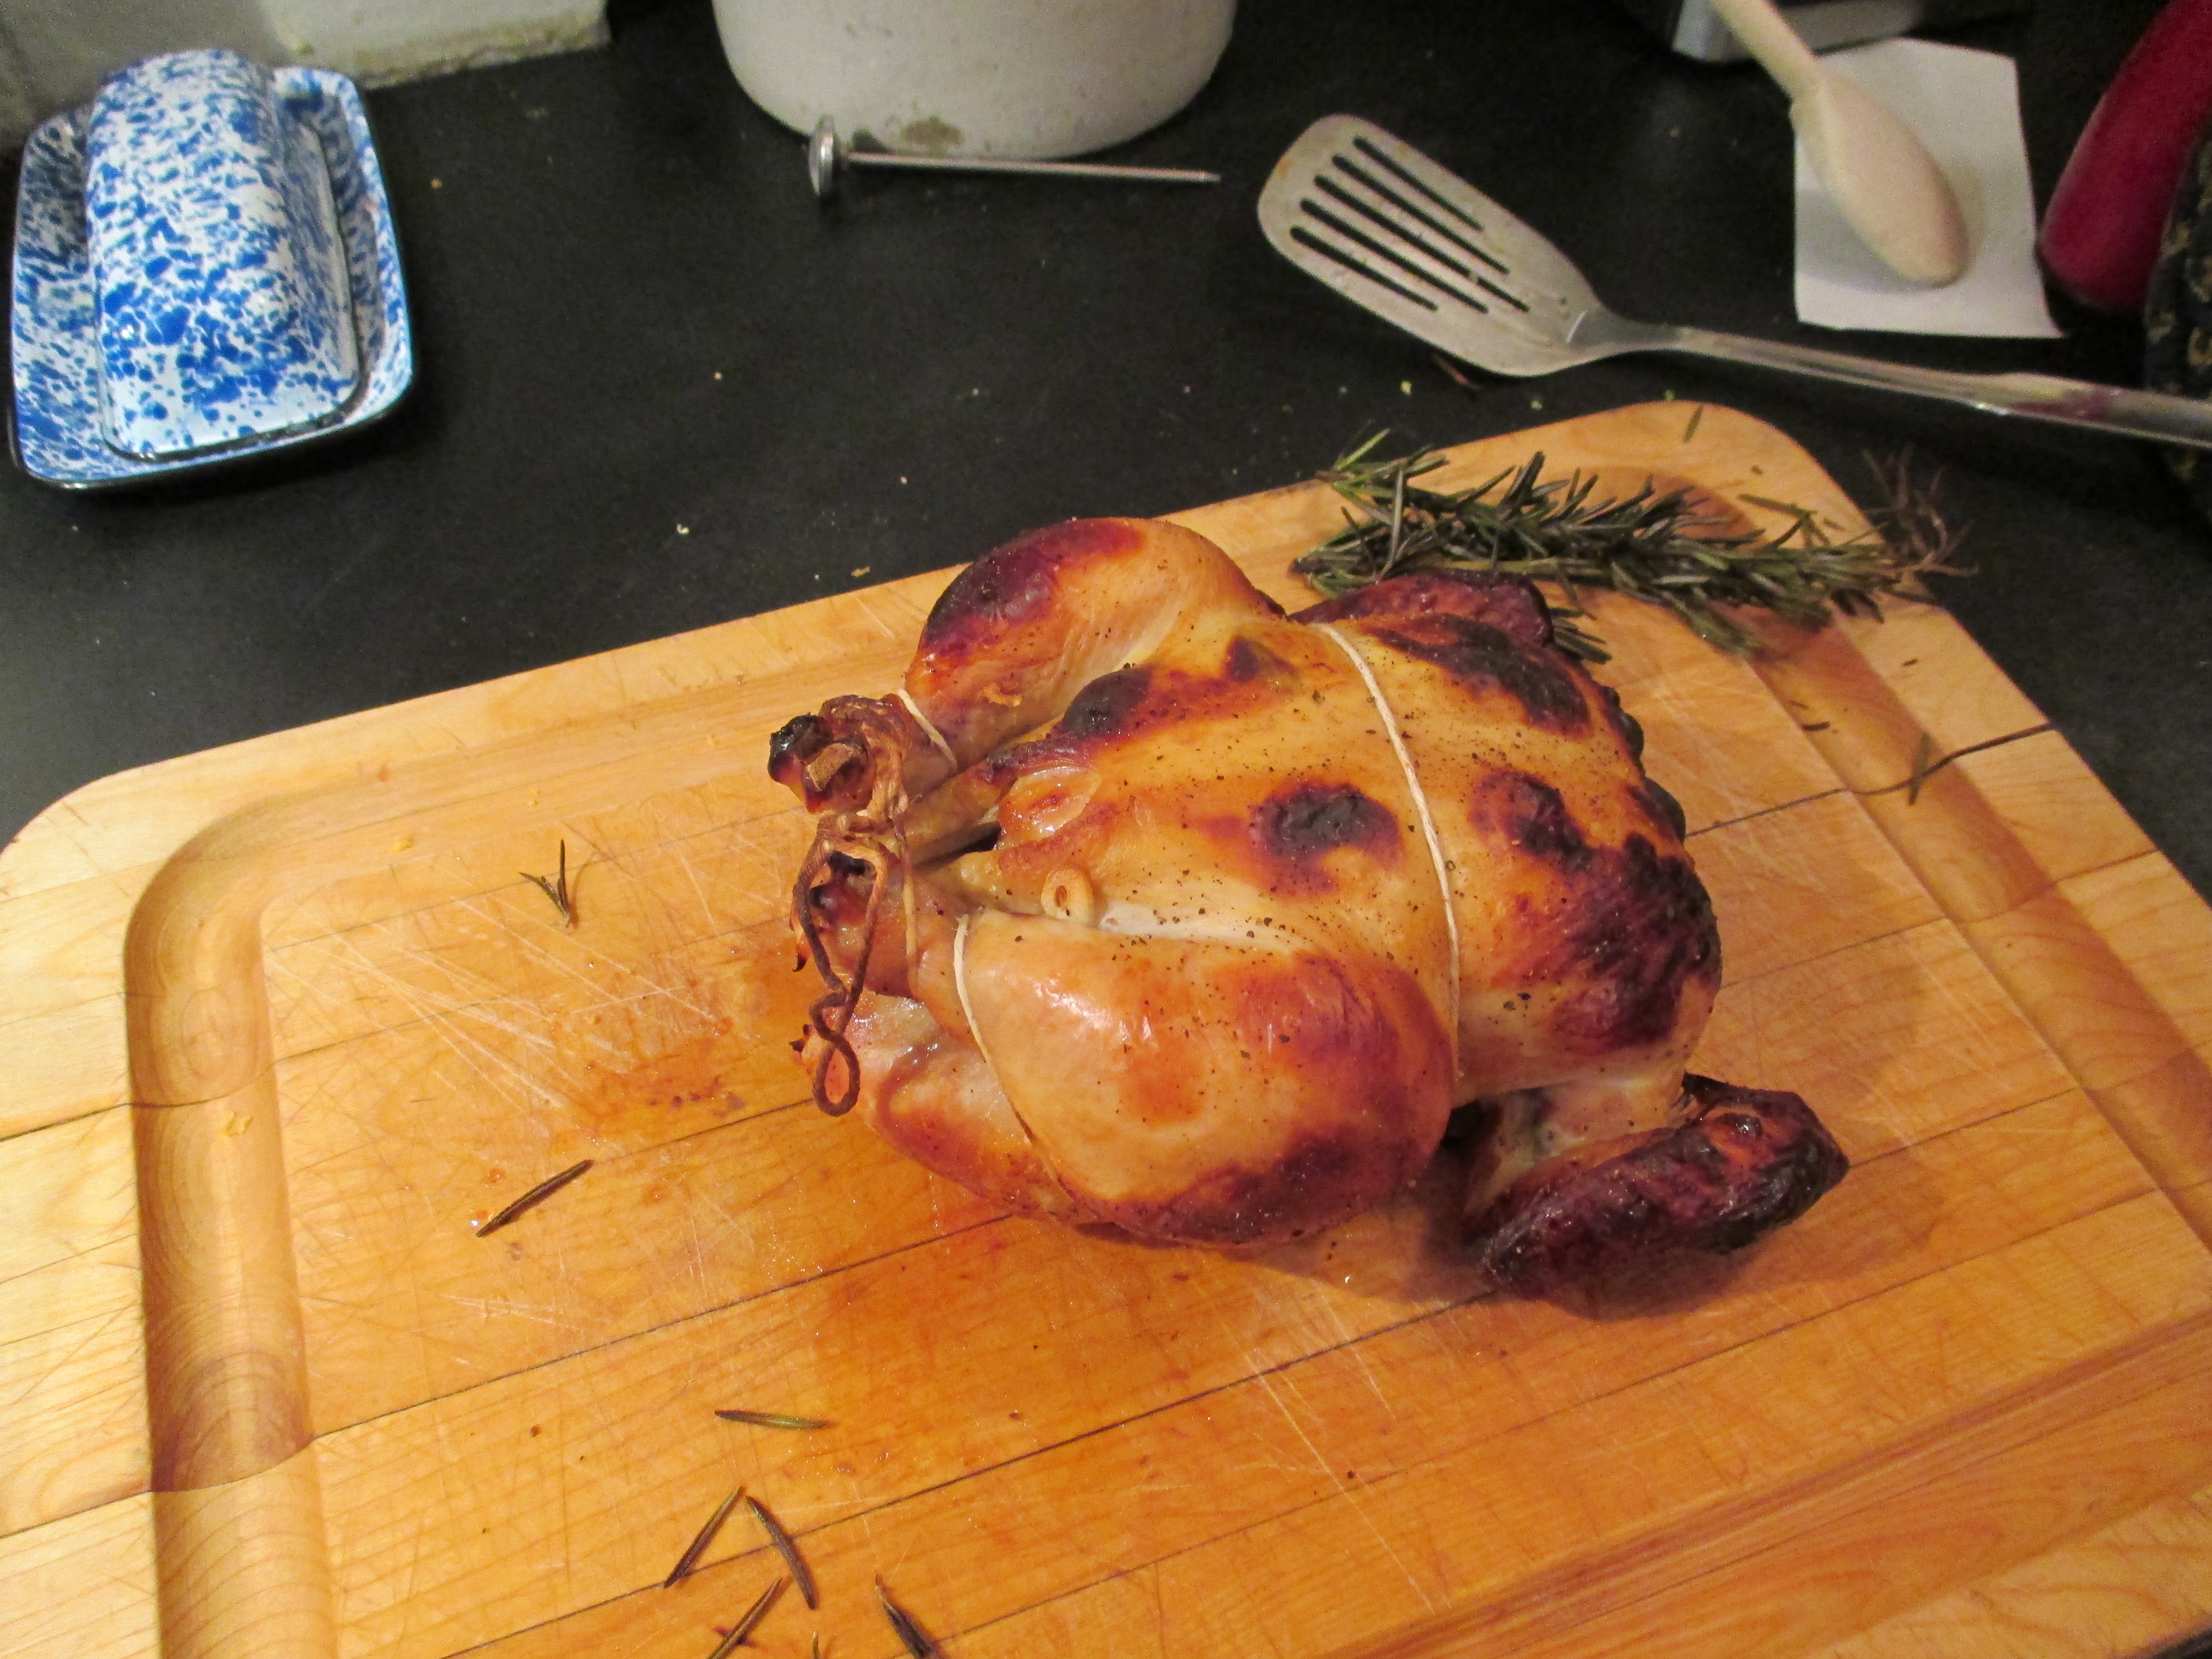
Boulud, though, says that you should make resting an integral part of the cooking process. He recommends cooking your chicken only to about 90- or 95-percent doneness, then letting it rest in a warm place for about a half an hour before cutting into it. That way, heat from the outside of the chicken is allowed to radiate into the interior, ensuring even cooking. The chicken will also retain moisture more effectively if you don’t cut into it right away, when its juices are at their most watery. So let your chicken rest for at least 20 or 30 minutes:
At Boulud’s restaurants, the chefs cook all their chickens 95 percent of the way through at the beginning of the evening, then leave them resting uncut in a warm place until someone orders them. At that point, they “flash” — AKA reheat — the chicken in a 400-degree oven for 5 to 10 minutes, allowing them to serve the chicken piping hot at a moment’s notice.
It’s hard to go as far with this technique at home as he goes in his restaurants, because his kitchens have specific warm places where the chickens can rest for hours while remaining safe and delicious. But if you’re cooking roast chicken for a dinner party, you can certainly cook your bird before your guests arrive, leave it resting near your oven for a half hour or so, then pop it back in the oven a few minutes before dinner so the meat is nice and hot when you sit down.
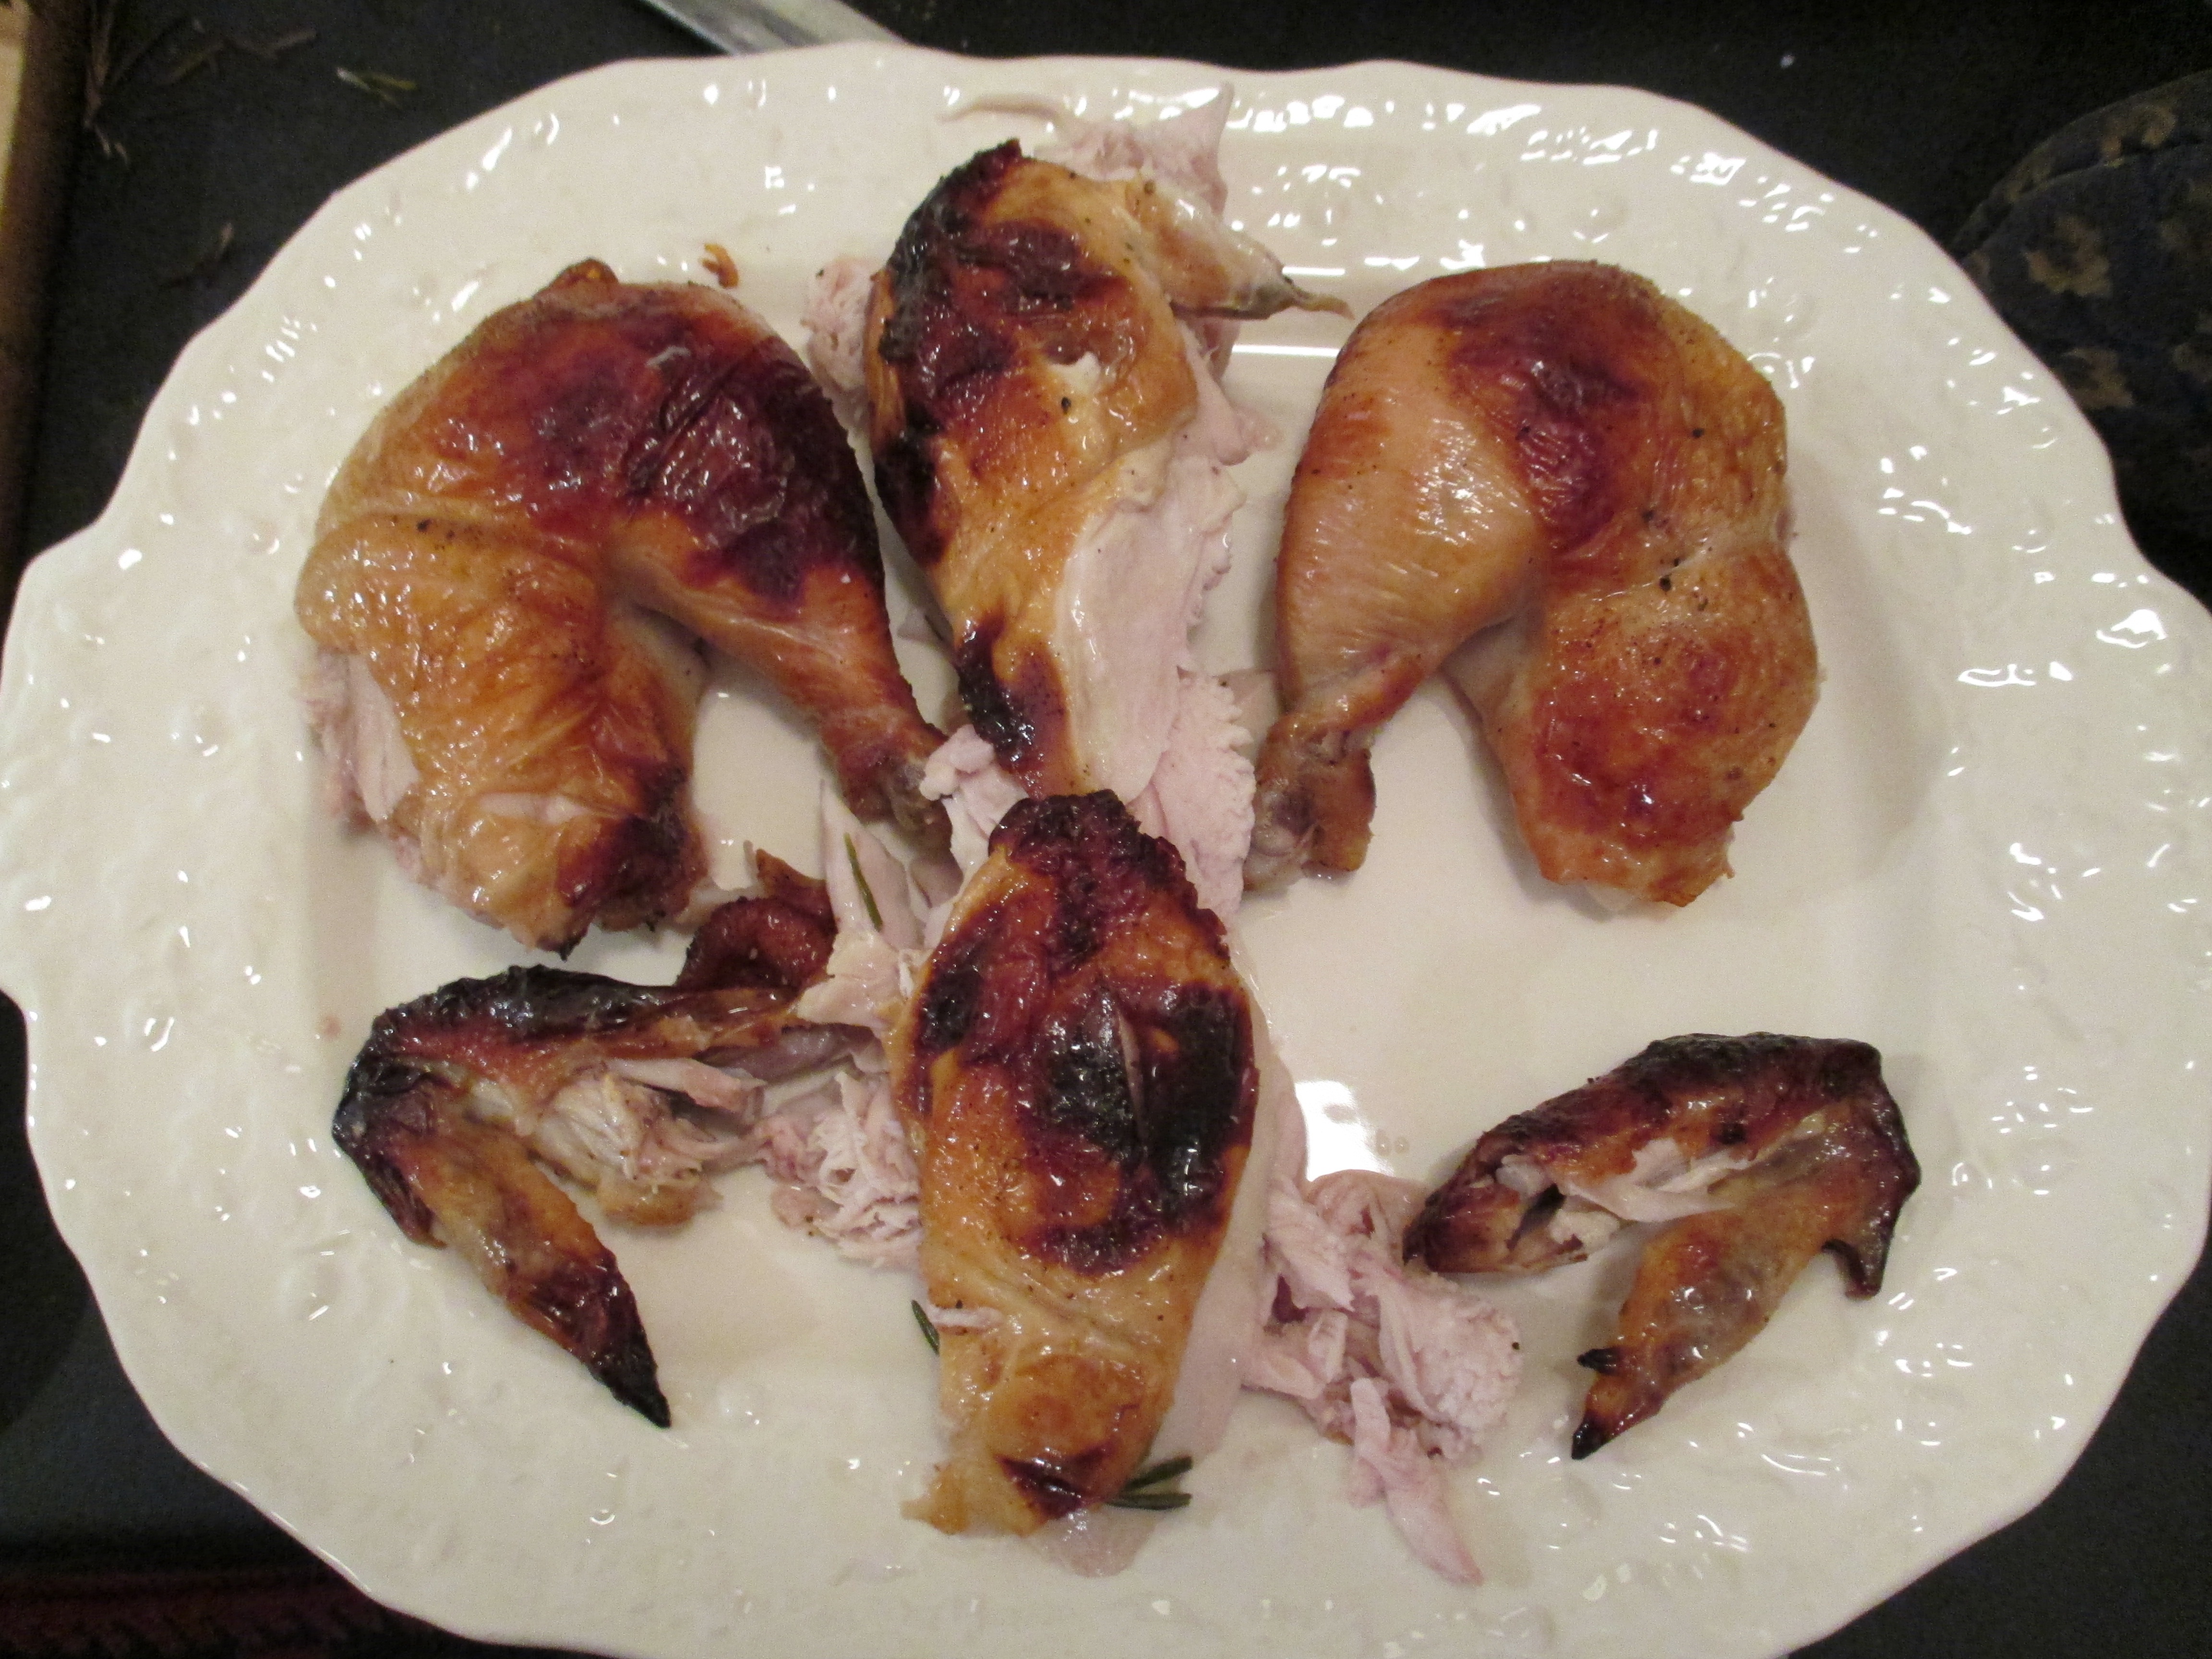
The last two steps — the easiest and most delicious — are carving and serving your chicken. What I got, after using all four of these tips, was something far closer to a $75 chicken for two at a high-end New York restaurant than my normal weeknight dinner: